1. Log into the Fortinet Support site and download the latest .zip package of Forticlient.
[Note that the install packages with _FG in the filename are for uploading directly to the Fortigate only.]
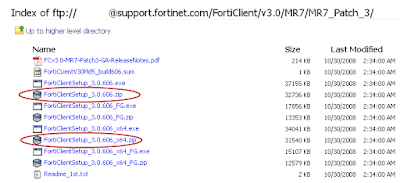
See [LINK] for Readme.txt explanation of different install packages.
2. Unzip contents.
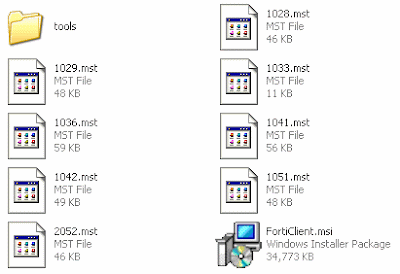
3. Install Forticlient.msi to a clean system/PC. Then proceed to configure the client as you would like it configured for your end-users.
[When installing; make sure to install only the components that you would like installed for your users as well. This will make the rest of the process a little simpler.]
See [LINK] for a sample FortiClient configuration.
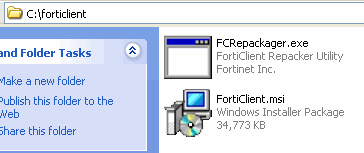
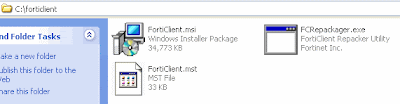
4. Create a folder with a simple filename like "forticlient" in the root of C:\ and copy FCRepackager.exe and Forticlient MSI to it.
FCRepackager.exe can be found in FortiClientSetup_3.0.606\tools.
[Make sure you read FCRepackager_Readme.txt for all available switches and options.]
5. Run c:\forticlient\FCRepackager.exe -i AV,VPN,FW,WF -L p@ssw0rd -v at a DOS prompt.
This command string is executing the following:
Components installed:
AntiVirus,VPN,Firewall,WebFilter
Admin password = p@ssw0rd
Verbose Output:
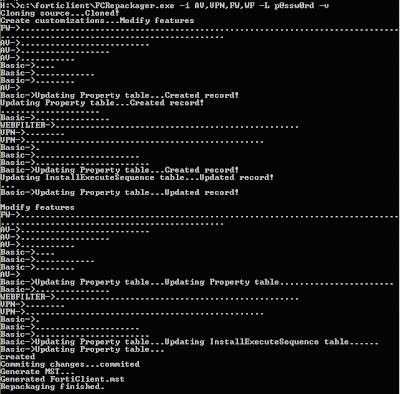
This process creates the FortiClient.mst file which is required in the next steps. Make sure you place in the same folder as FortiClient.msi if it is not already located there.
6. Scripting the install.
A) To install Forticlient off of a network drive I like to use this little 2 part batch script.
[Make sure that move Forticlient.msi, FortiClient.mst and the scripts into the same folder on the server. In this case it is \\xSERVERx\FortiClient\MR7_Default_Install\.]
B) To script a local install just recycle step2.bat from above. Just make sure that all of your files are in c:\forticlient.
FCRepackager.exe can be found in FortiClientSetup_3.0.606\tools.
[Make sure you read FCRepackager_Readme.txt for all available switches and options.]

5. Run c:\forticlient\FCRepackager.exe -i AV,VPN,FW,WF -L p@ssw0rd -v at a DOS prompt.
This command string is executing the following:
Components installed:
AntiVirus,VPN,Firewall,WebFilter
Admin password = p@ssw0rd
Verbose Output:

This process creates the FortiClient.mst file which is required in the next steps. Make sure you place in the same folder as FortiClient.msi if it is not already located there.

6. Scripting the install.
A) To install Forticlient off of a network drive I like to use this little 2 part batch script.
[Make sure that move Forticlient.msi, FortiClient.mst and the scripts into the same folder on the server. In this case it is \\xSERVERx\FortiClient\MR7_Default_Install\.]
Step1.bat
cls
@echo off
TITLE Forticlient MR7 Patch3 Default Install
c:
net use v: \\xSERVERx\FortiClient\MR7_Default_Install
echo This is a silent install.......
echo You will be prompted when finished.
echo.
xcopy v:\*.* C:\Forticlient\*.* /F /Y
echo.
echo.
echo I mapped the install folder to V:\ and copied all of the contents to c:\Forticlient.
echo.
echo.
echo Another script will start and you will lose your connection to your network drives. Sorry.....
call c:\Forticlient\step2.bat
net use v: /delete
echo V:\ drive removed
echo Goodbye
exit
Step2.bat
@echo off
TITLE Forticlient MR7 Default Install [PART 2]
echo ......Installing..... Please Wait......
start /wait msiexec /i c:\Forticlient\FortiClient.msi TRANSFORMS=c:\Forticlient\FortiClient.mst /qn+
echo.
echo.
echo.
echo.
echo.
echo done
pause
B) To script a local install just recycle step2.bat from above. Just make sure that all of your files are in c:\forticlient.


